

Step-by-step guide for setting up the Kyivstar integration in Requiply. After completing the setup, you can send automated SMS notifications to clients from workflows.
Inside Requiply, the Kyivstar integration works like this: you add your Kyivstar API credentials once, then choose Kyivstar in a workflow action. When the workflow trigger happens, Requiply sends an SMS to the client's phone number automatically.
Step 1: Prepare Your Kyivstar API Credentials
Before configuring Requiply, open the Kyivstar API portal and prepare the credentials for messaging. If you do not have a Kyivstar API Market account yet, register an account first and complete the basic setup.
For the integration you need:
- Client ID
- Client Secret
- SMS sender name
The SMS sender name must be an alpha-name approved by Kyivstar before production messages can be sent. For a quick test, use the sender name messagedesk.
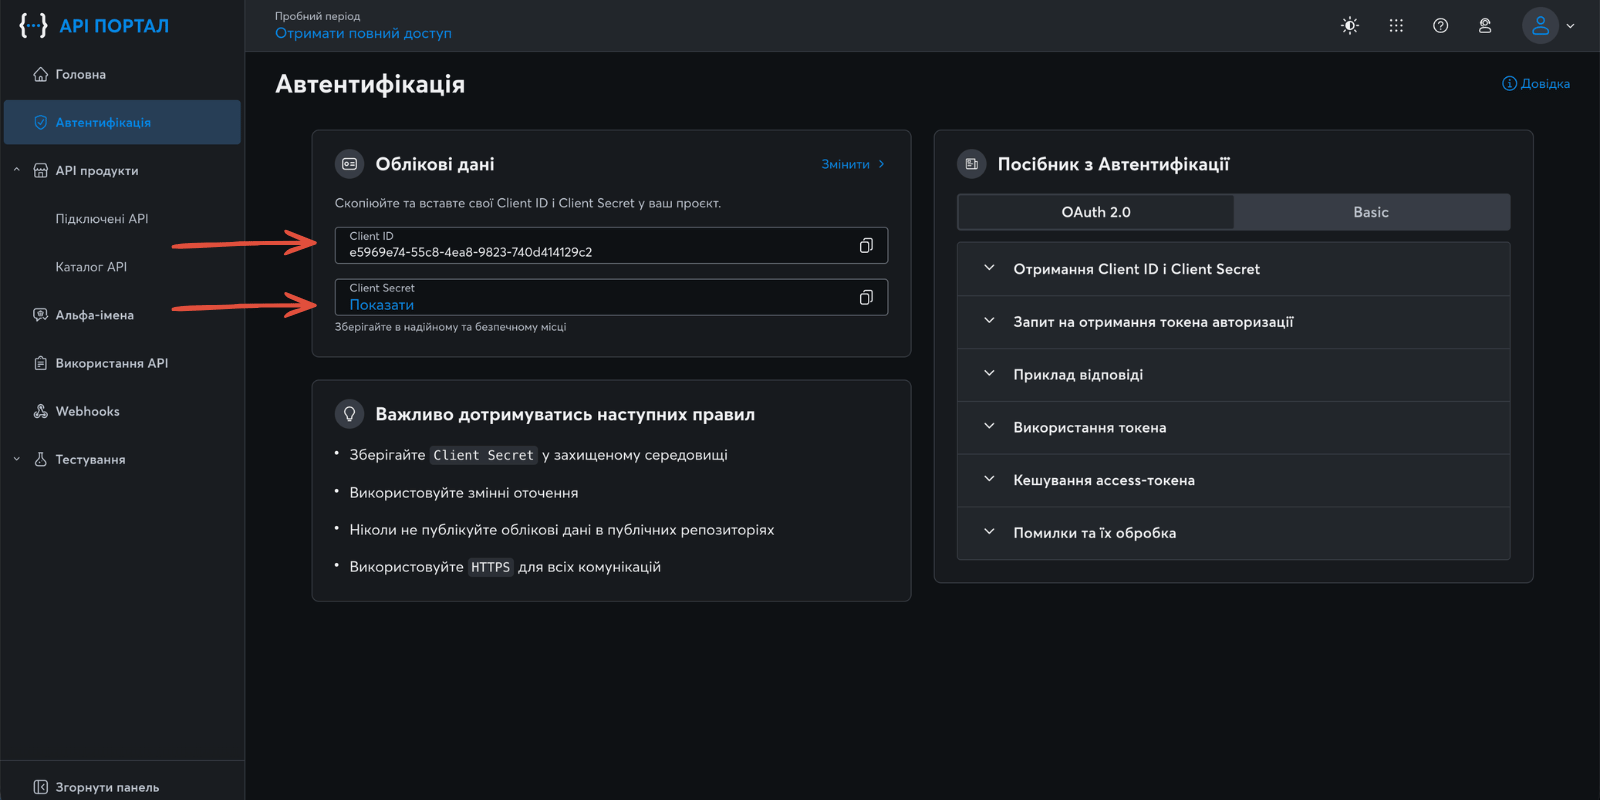
Step 2: Copy Client ID and Client Secret
In the Kyivstar API portal, create or open the application used for messaging and copy:
- Client ID
- Client Secret
Keep the Client Secret private. Requiply stores it securely and shows it as hidden after saving.
Step 3: Configure Kyivstar in Requiply
Log in to your Requiply profile:
After logging in, open the Communications integrations page:
Then complete these steps:
1. Click "Configure" on the Kyivstar integration card
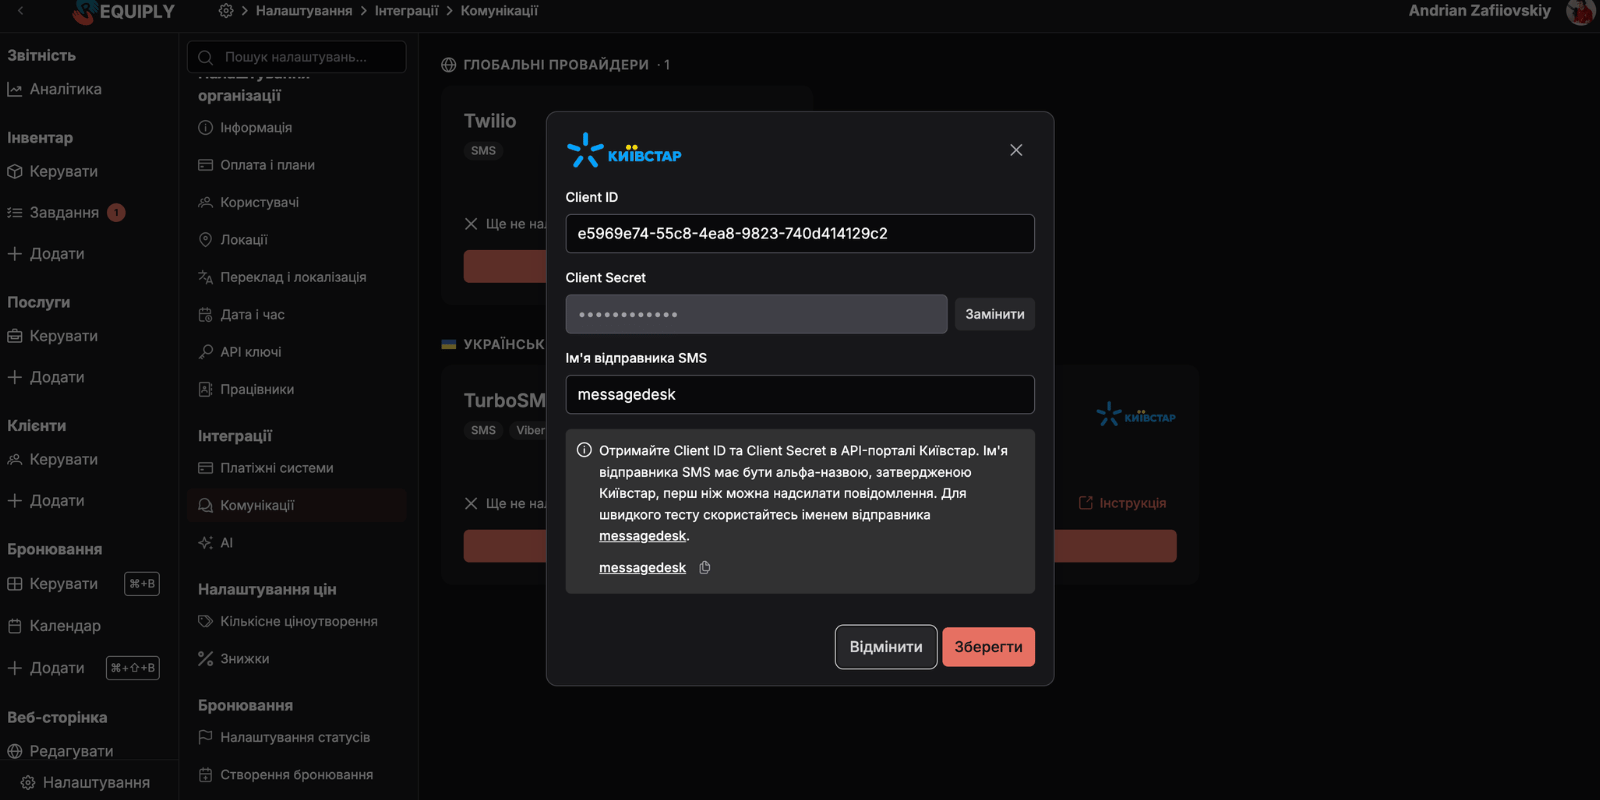
Open the Kyivstar setup modal from the Communications integrations page.
2. Fill in the integration form
In the Kyivstar form, enter:
- Client ID from the Kyivstar API portal
- Client Secret from the Kyivstar API portal
- SMS sender name, for example
messagedeskfor a quick test
Click Save.
If the Client Secret was already saved earlier, Requiply shows it as hidden. Use Replace when you need to enter a new secret.
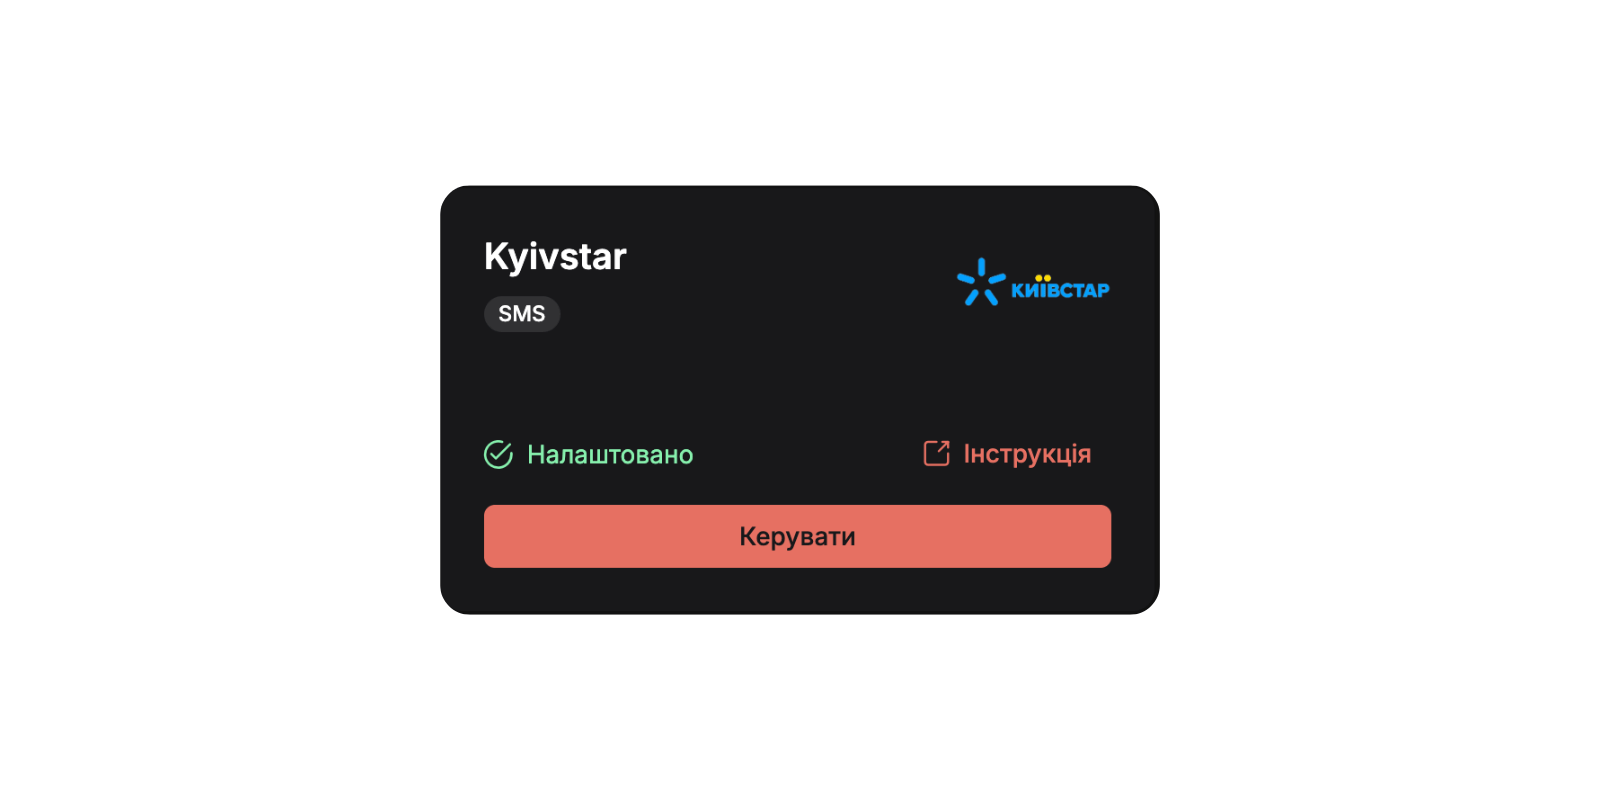
3. Check that the integration is saved
If the data is correct, Kyivstar becomes available as a provider in workflow actions.
Step 4: Use Kyivstar in Workflows
After the integration is saved, open the Workflows settings page:
Create a workflow or edit an existing one. A typical booking confirmation workflow looks like this:
| Field | Value |
|---|---|
| Trigger type | Booking status reached |
| Booking status | Confirmed |
| Action type | Send SMS / Viber to client |
| Provider | Kyivstar |
| Channel | SMS |
Example message:
{{clientFirstName}}, your booking for {{bookingStartDate}} is confirmed.

Payment link: {{paymentIntegrationLink}}

Total: {{bookingTotalCharged}}
The message is sent to the phone number on the booking client. The workflow requires a configured Communications integration and a client phone number.
Step 5: Typical Workflow Scenarios
After Kyivstar is connected, you can use it for:
1. Booking confirmation messages
Trigger the workflow when the booking status reaches Confirmed and send the client a message with the date, total, and payment link.
2. Payment updates
Notify the client when payment status reaches Paid or send a reminder before pickup.
3. Booking status changes
Send SMS updates when a booking is cancelled, moved to another custom status, or needs client attention.
Congratulations! Kyivstar is now ready to send automated SMS notifications from Requiply workflows.
Additional Information
- Updating credentials:
If you rotate the Client Secret or change the sender name, update the integration on the Communications integrations page. - Sender name approval:
The production SMS sender name must be approved by Kyivstar before messages can be sent from your brand. - Quick testing:
Usemessagedeskfor a quick test, then replace it with your approved sender name.
Have questions? Write to us at info@requiply.com or contact the Requiply support team.